In this guide we are going to create a Confluence meeting page directly from Outlook with the Meetical Calendar add-in for Outlook.
Make sure you:
-
Have installed the Meetical Meetings for Confluence app.
-
Install the Outlook Add-in from AppSource.
After completing the setup, follow these steps to create your first page:
-
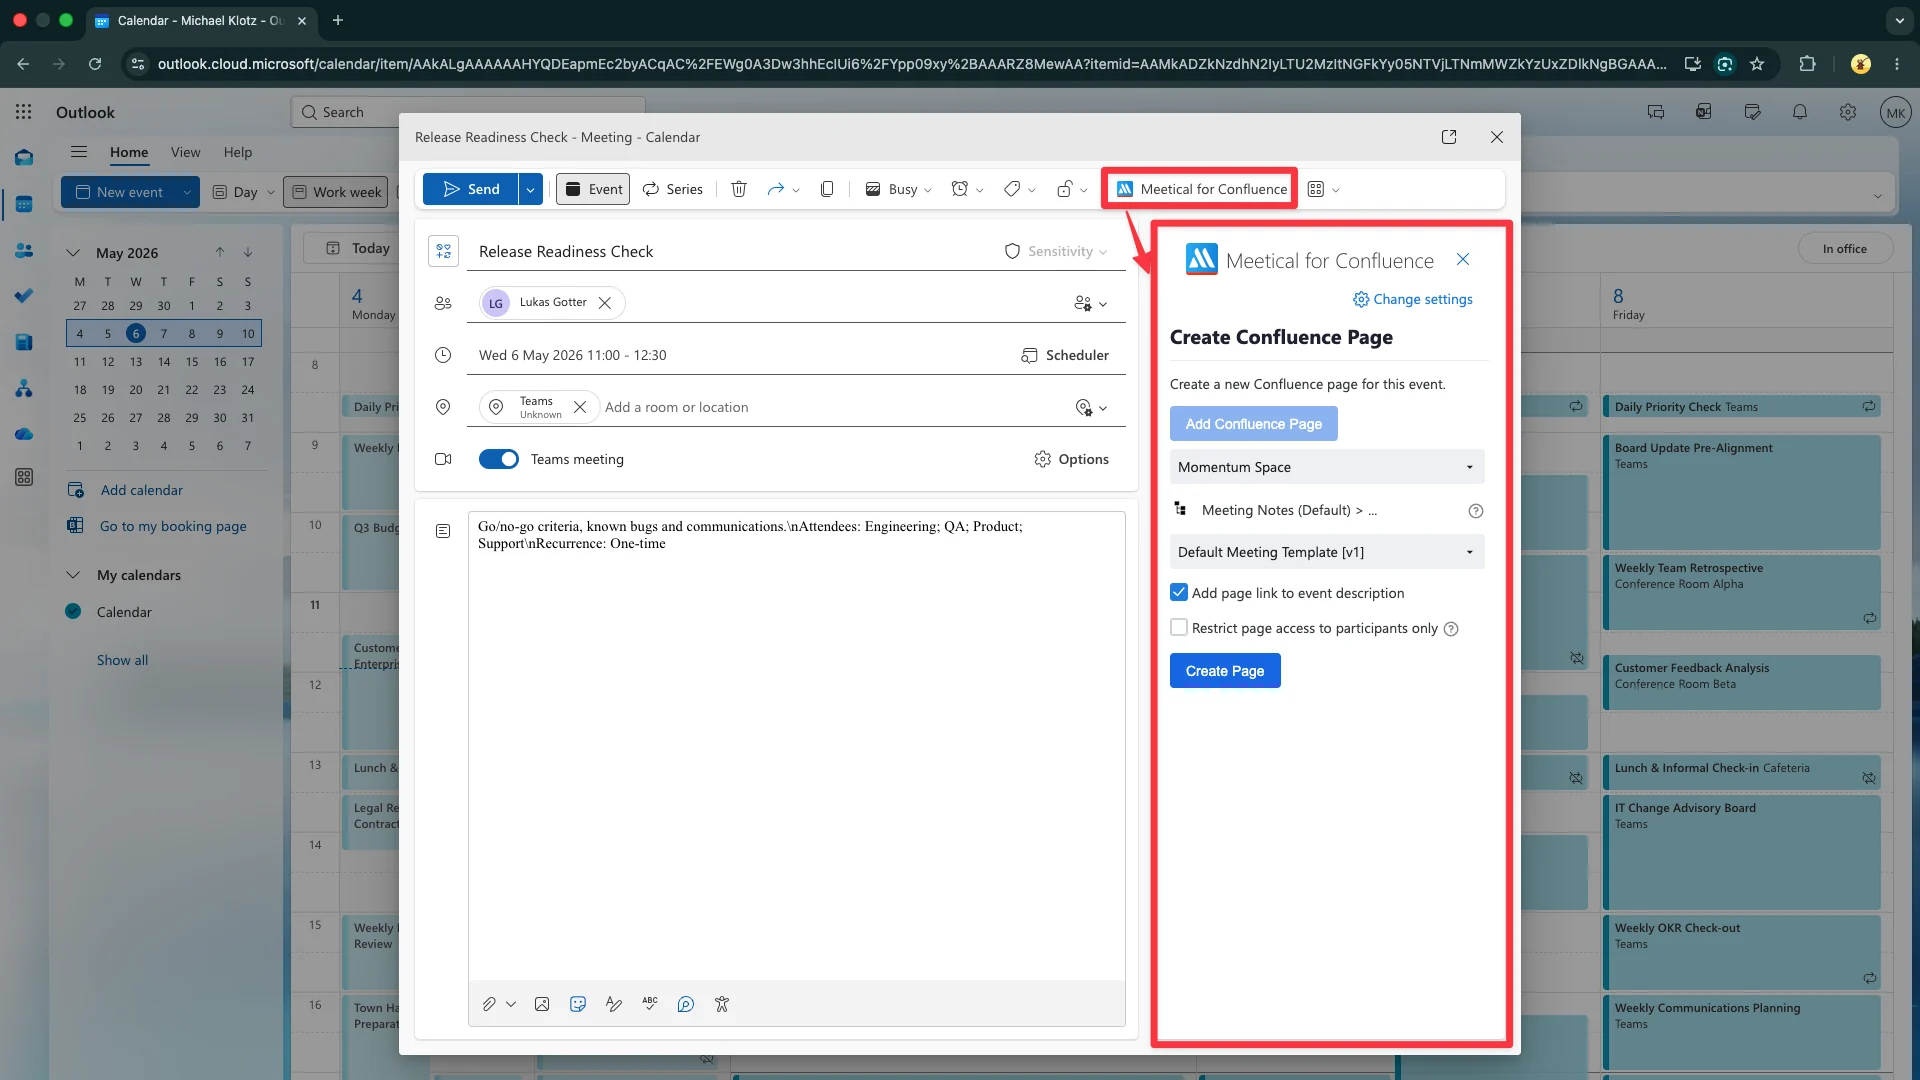
Open a new or existing event, and click on the Apps Menu button in the menu bar. Then click on "Meetical for Confluence”.
-
This will start the Meetical Calendar Outlook add-in.
-
Click on Add Confluence Page
-
Choose the Confluence Space where you want to create the page.
-
Optionally, choose a template. You can use custom page templates or use the default template.
-
Optionally, choose the Parent Page you want to use. Follow this guide to add/change parent pages for each space.
-
Click on Create Page.
-
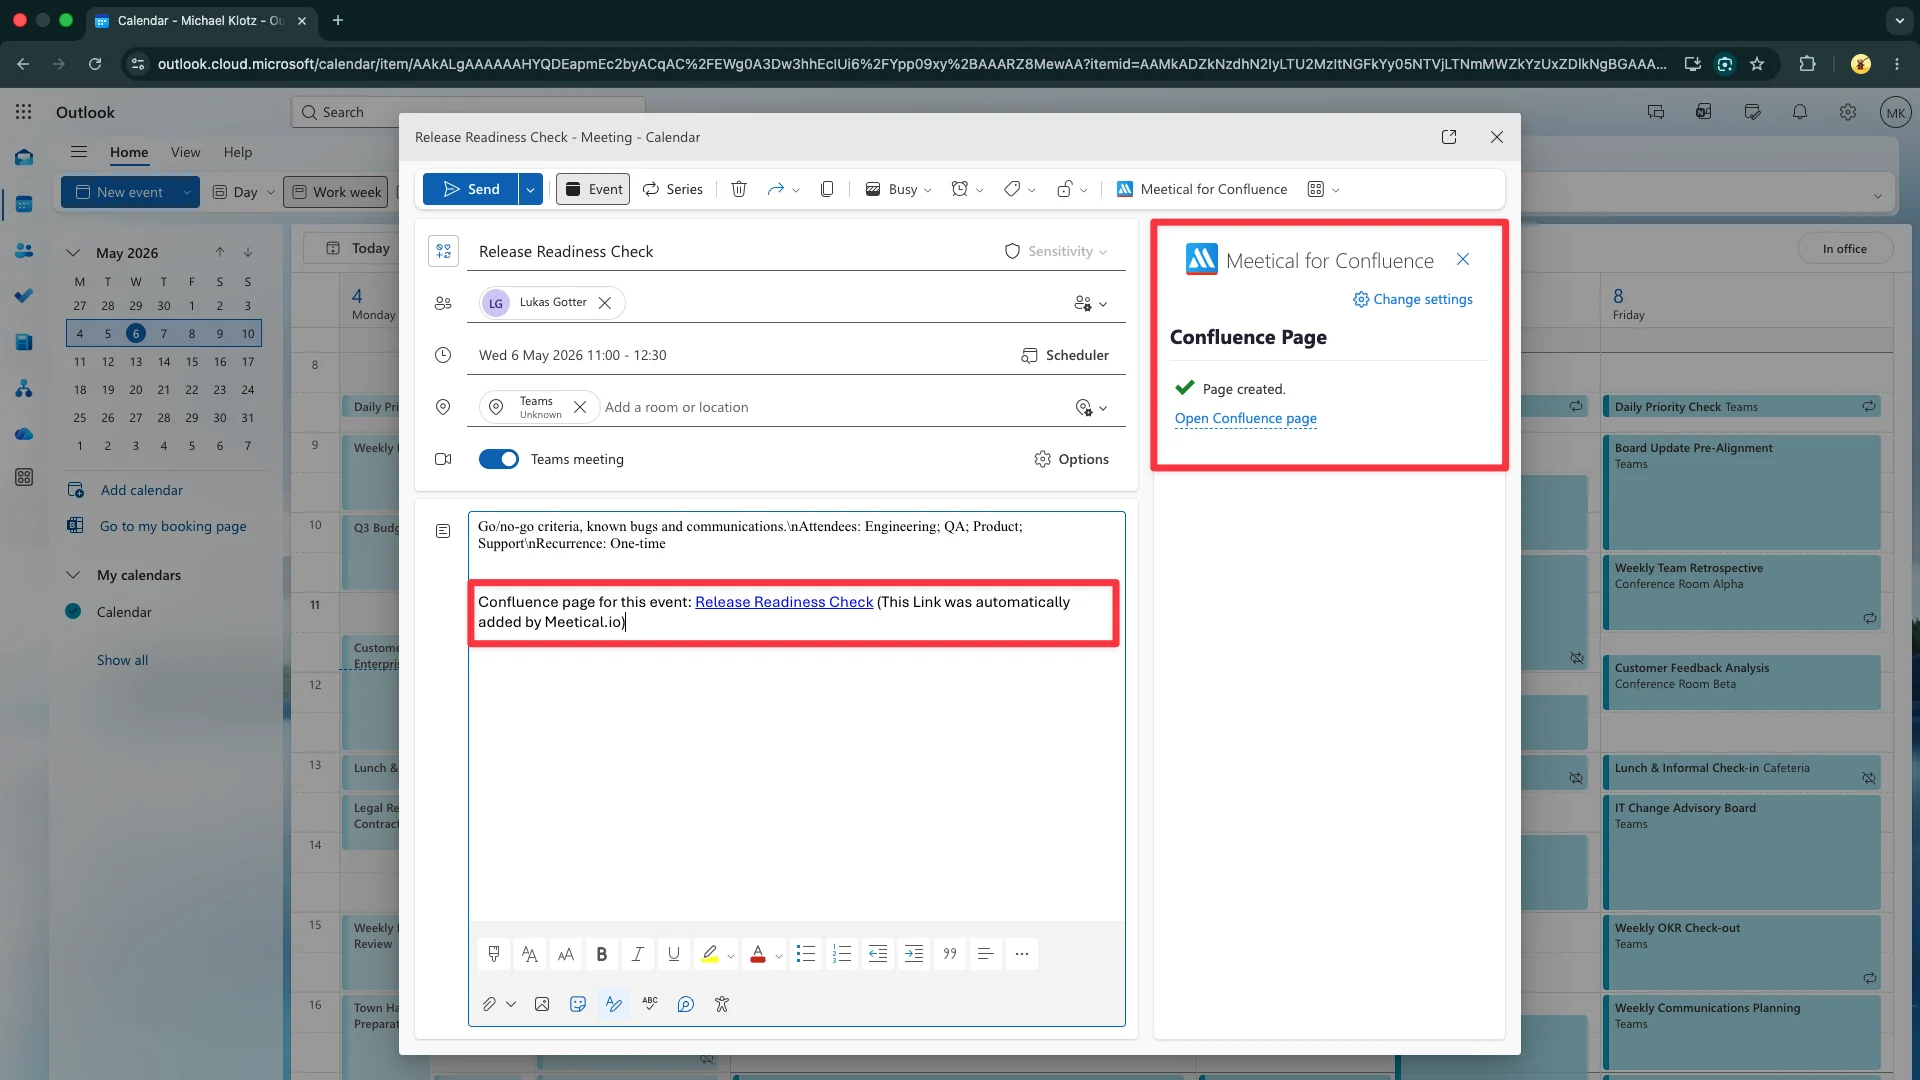
The page has been created!
-
A Link to the page has been added to the description.
-
You can send (save) the event now or after editing the Confluence page.
-
Any changes to the event are automatically updated to the Confluence page.
-
Open the page and inspect the automatically populated information.
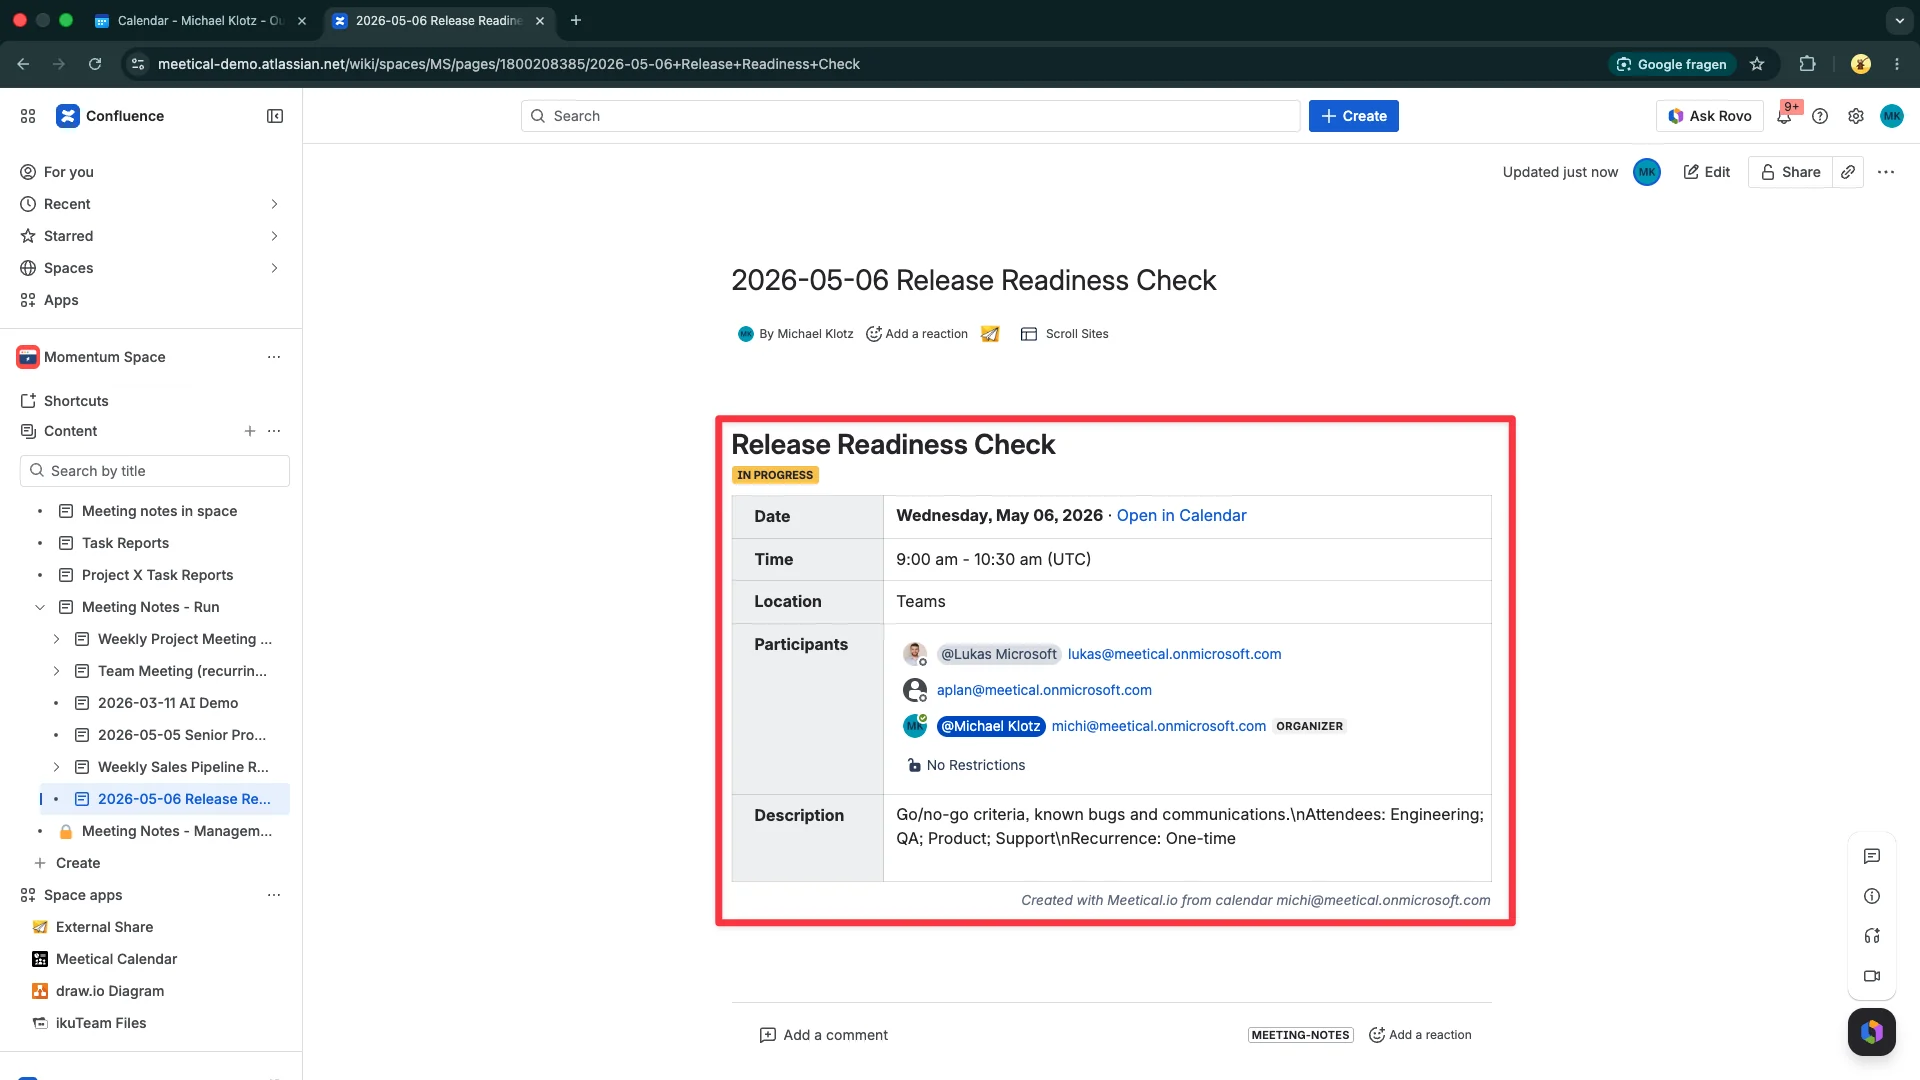
Note that changes to location, date, time, etc. are automatically updated on the page. Even the attendee RSVP status will get updated. Try to update the event description or location and see it in action.